Step-by-Step Guide to Replacing 106A Thyristor Modules in UPS Systems
Thyristor modules are essential components of uninterruptible power supply (UPS) systems, providing critical power control for stable operation. However, like any electronic component, thyristor modules can wear out over time and may need to be replaced. The process of replacing the 106A thyristor module in a UPS system requires careful planning and the right tools to ensure that the replacement is successful and that the UPS continues to perform optimally. In this article, we will provide a detailed step-by-step guide for replacing the 106A thyristor module, including considerations for hold-current, low-slope-resistance, and cooling methods.
1. Why Replace the 106A Thyristor Module?
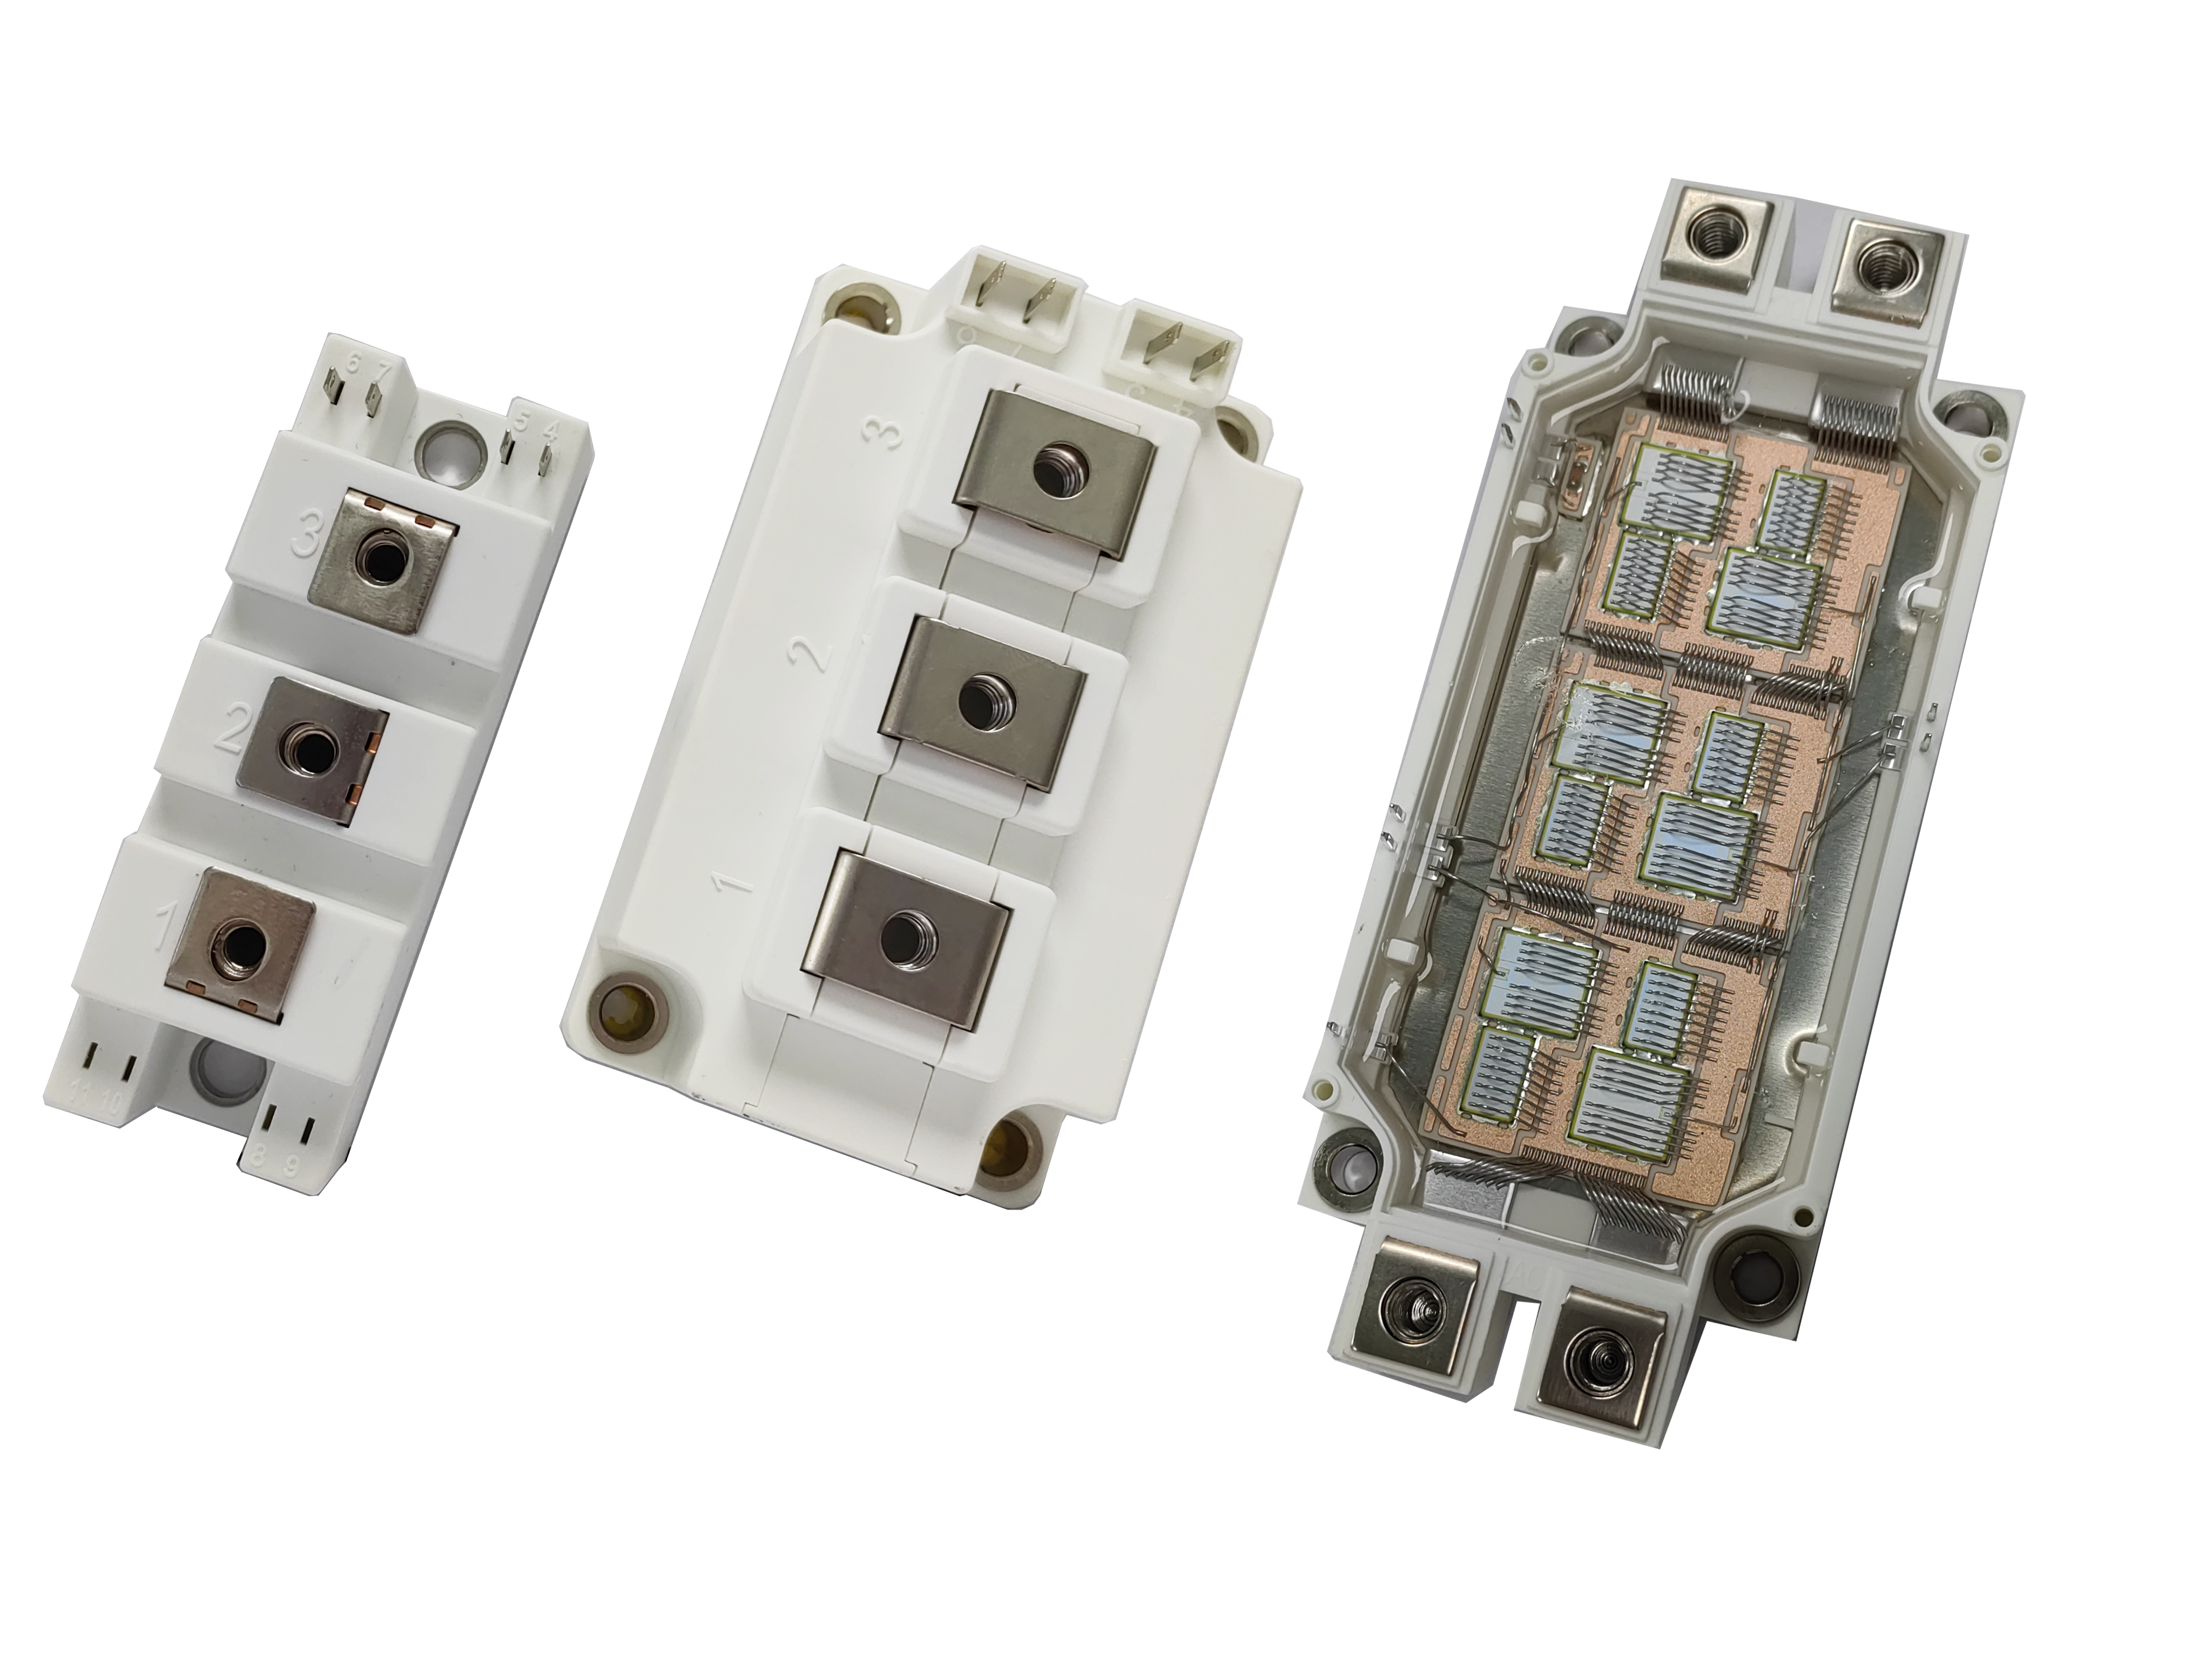
The 106A thyristor module plays a vital role in controlling the power flow in a UPS system. However, after prolonged use, its performance can degrade, especially under heavy loads. Symptoms indicating the need for a replacement include reduced efficiency, frequent shutdowns, or failure to regulate power flow properly. The hold-current feature, which ensures stable current flow during fluctuations, may no longer function as effectively, or the low-slope-resistance capability may deteriorate, leading to increased energy losses.
When the thyristor module begins to exhibit these issues, it is crucial to replace it promptly to maintain the UPS system's stability and reliability. Ensuring that the replacement module has the same specifications is vital for preserving the system's performance.
2. Choosing the Right Replacement for the 106A Thyristor Module
Selecting the correct replacement module is critical for maintaining the efficiency and reliability of the UPS system. When replacing a 106A thyristor module, ensure that the new module meets the same operational parameters as the original one. Pay particular attention to:
Hold-current: The new module must be capable of maintaining stable current flow during fluctuations.
Low-slope-resistance: This ensures efficient power transfer with minimal losses, particularly under high-load conditions.
Cooling requirements: Ensure the replacement module is compatible with the UPS system's cooling methods, such as compact water-cooling or forced-air-cooling.
Choosing a UL file-E63532 certified and RoHS-compliant replacement will ensure that the new module meets industry standards for safety and environmental impact.
3. Preparing for the Replacement
Before proceeding with the replacement, follow these preparatory steps:
Power Down the UPS System: Disconnect the UPS system from the power source to ensure that no electrical current is running through the system. This will prevent electrical hazards during the replacement.
Gather the Necessary Tools: Ensure you have the right tools for the job, including screwdrivers, grounding straps, and safety equipment.
Check the Cooling System: Verify that the UPS system's cooling method, whether compact water-cooling or forced-air-cooling, is functioning properly. A malfunctioning cooling system can lead to overheating and damage to the new thyristor module.
4. Step-by-Step Replacement Process
Follow these steps to replace the 106A thyristor module:
Step 1: Disconnect Power: Begin by turning off the UPS system and disconnecting it from the main power supply. This step is crucial to prevent electrical accidents.
Step 2: Remove the Old Module: Carefully remove the faulty 106A thyristor module. Pay attention to the connections, and label them for easy reinstallation of the new module.
Step 3: Install the New Module: Insert the replacement 106A thyristor module into the same position as the old one. Ensure that the module is securely mounted and that all electrical connections are properly made.
Step 4: Connect to Cooling System: If your UPS system uses compact water-cooling or forced-air-cooling, ensure that the new module is properly connected to the cooling system. This is critical to prevent overheating and ensure efficient operation.
Step 5: Test the System: After installation, power up the UPS system and run diagnostic tests to ensure that the new module is functioning properly. Check for signs of instability or irregularities in the system's performance.
5. Ensuring Compliance with Industry Standards
When replacing the 106A thyristor module, it is essential to use a certified module that meets industry standards. Look for UL file-E63532 certification and RoHS compliance to ensure that the replacement module adheres to the necessary safety, performance, and environmental guidelines.
Using a module with these certifications will ensure that the UPS system remains compliant with the relevant regulations, providing safe and reliable operation.
6. Conclusion: Ensuring Continued UPS Performance with Proper Module Replacement
Replacing the 106A thyristor module in a UPS system is a critical task that requires careful attention to detail. By following the steps outlined in this guide and ensuring that the new module meets the same specifications as the original, you can maintain the efficiency, reliability, and longevity of your UPS system. Ensuring that the replacement module is compatible with the system's cooling methods, such as compact water-cooling or forced-air-cooling, is also essential to avoid overheating and ensure optimal performance.
By adhering to these procedures, you can ensure that your UPS system continues to provide uninterrupted power to critical loads, maintaining the stability of your operations.